Cleaning camera lenses is more complicated due to their sensitivity, requiring special tools for proper cleaning.
While a lens cap can help minimize dirt and scratches, it’s still recommended to clean the lens thoroughly at least twice a year or before selling it.
After years of experience and research, we have found the easiest way to clean camera lenses.
How to Determine if Your Camera Lens Needs Cleaning
Knowing when to clean your camera lens is crucial, especially before a photoshoot. Here are some ways to determine if your camera lens requires cleaning:
- Focus Afar: Set the lens to manual focus and focus on a faraway subject without readjusting the ring. Lock the focus.
- Aperture Narrowing: Set the aperture to a narrow setting like f/16.
- Click To Take: Take multiple shots of plain, clear subjects such as white walls or clear skies.
- Spot the Spots: Review the images on your camera screen or computer and zoom in to check for marks, dark spots, lines, or smudges. These indicate dirty camera lenses.
Bookmark this article for future reference on how to address streaks or marks on your camera lenses.
Tools You Need to Clean Your Camera
These cleaning tools are readily available online or at camera stores. Choose tools that are safe for your camera, especially the lens coatings.
It’s important to keep your camera and lens clean to maintain their pristine condition.
Microfiber Cloth
A microfiber cloth is an essential cleaning tool for your camera bag. It effectively cleans camera lenses without leaving streaks.
Lens Tissues
Use specialized lens cleaning tissues that don’t leave fibers or residue on the camera lens.
Lens Cleaning Liquid
Use a lens cleaning solution to remove smudges, marks, and fingerprints from your camera lenses. Choose a non-alcohol-based solution to protect the lens coating.
Camera Cleaning Spray
A camera body cleaning spray, preferably alcohol-free, is useful for cleaning the camera body and other external parts.
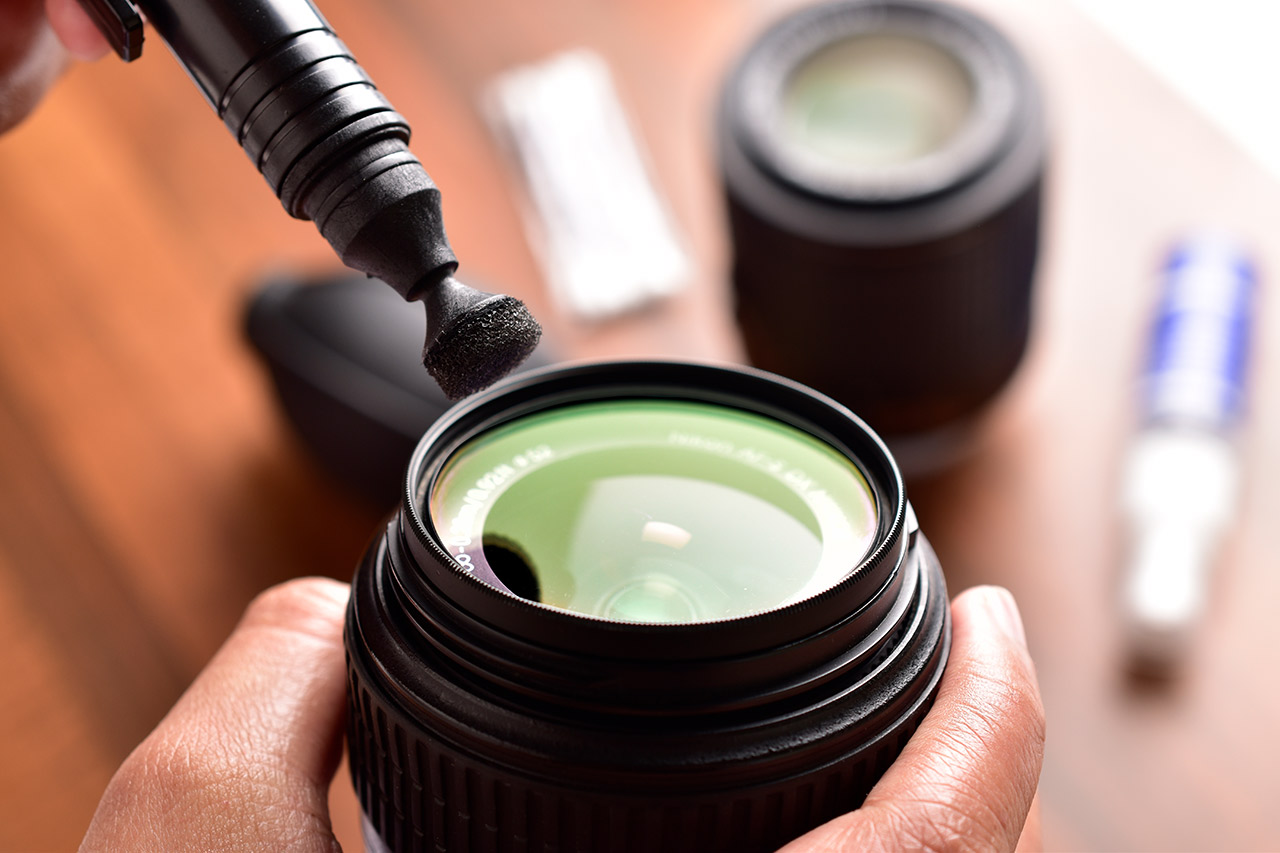
Soft Brush for Lens
A brush with soft bristles is ideal for removing dust from camera lenses, especially if you prefer not to use a blower.
Blower
A blower helps remove larger dust particles and light dirt from camera lenses or the camera body.
Cleaning Kit Pouch
Store all your cleaning tools in a pouch or container to keep them organized and easily portable.
Remember to take good care of your cleaning tools to maintain the cleanliness of your camera gear.
Step-by-Step Process for Cleaning Your Camera Lens
Here is a step-by-step guide on how to clean camera lenses like a professional and maintain good image quality:
Step 1: Blow the Dust Away
Start by using a blower to remove dust from the lens glass. Avoid using your breath as it may leave moisture or saliva on the lens.
Using a blower first helps prevent minor scratches caused by larger dust particles. Ensure good lighting when cleaning the lens.
Hold the lens upright or vertically and use the blower while tilting the lens at a 45-degree angle.
Step 2: Brush Away Particles Using a Soft-Bristled Brush
If the blower doesn’t remove heavier or stickier dirt, use a soft lens brush, especially after shooting in humid or rainy conditions.
The brush is also effective for cleaning the edges of the camera lens glass. Hold the lens vertically and brush from side to side.
Be gentle to avoid scratching the lens surface with dirt trapped in the bristles.
Step 3: Use a Cleaning Formula
Once larger dirt particles are removed, it’s time for intensive lens cleaning. Use lens paper and the appropriate cleaning fluid to avoid damaging the lens coating.
Choose a high-quality lens cleaning solution and fold the lens paper. Apply 3-5 drops of the solution. Hold the lens vertically and wipe the surface in a straight motion, not a spiral one.
After wiping, use a dry sheet of lens tissue to dry the lens.
Allow the lens to dry completely before checking for any remaining prints or stubborn dirt. Repeat the process if necessary.
Step 4: Use a Microfiber Cloth for the Final Polish
For the final touch, use a soft microfiber cloth to make the lens sparkle. Make sure to avoid using the cloth at the beginning to prevent collecting dust particles.
Fold the cleaning cloth in any shape that won’t collect dust and gently wipe the lens surface in side-to-side or circular motions.
Step 5: Don’t Forget to Clean the Rear Element
It’s important to clean both the front and rear lens elements. Once you’ve finished cleaning the front element, proceed to clean the rear element.
Cleaning the rear element may require lens tissues or a cloth due to its smaller size compared to the front element.
Step 6: Don’t Forget to Clean the Barrel
After cleaning the lens glass, don’t forget to clean the lens barrel. Dust and grime can accumulate between the focus ring and zoom lenses.
Be cautious when using cleaning fluids on the barrel, especially if your lens is not weather-sealed. Use a brush and blower to clean the tight edges of the barrel.
Remember to clean the lens caps as well to avoid using a dirty cover for your lens.
Gently clean the barrel using a slightly damp lens cloth or water if you don’t have a specific cleaning solution for the exterior of the camera.
Store the clean camera lens securely in a closed, dust-free space or pouch to prevent dust accumulation.
The Takeaway
The condition of your camera greatly affects image quality. It’s crucial to keep your camera lenses clean to avoid compromising your photos due to dust particles.
Always carry lens tissues or a lens cloth and choose non-alcohol solutions. If you have a larger camera bag, bring a blower and other cleaning tools to maintain your camera in the best possible shape.
Cleaning camera lenses is an affordable and convenient way to ensure crystal-clear photos.