To photograph lava and ash clouds, use fast shutter speeds like 1/1000th of a second. Adjust ISO and aperture as needed. Capturing volcanoes from the air, ground or sea results in dramatically different images and visibility of the lava source.
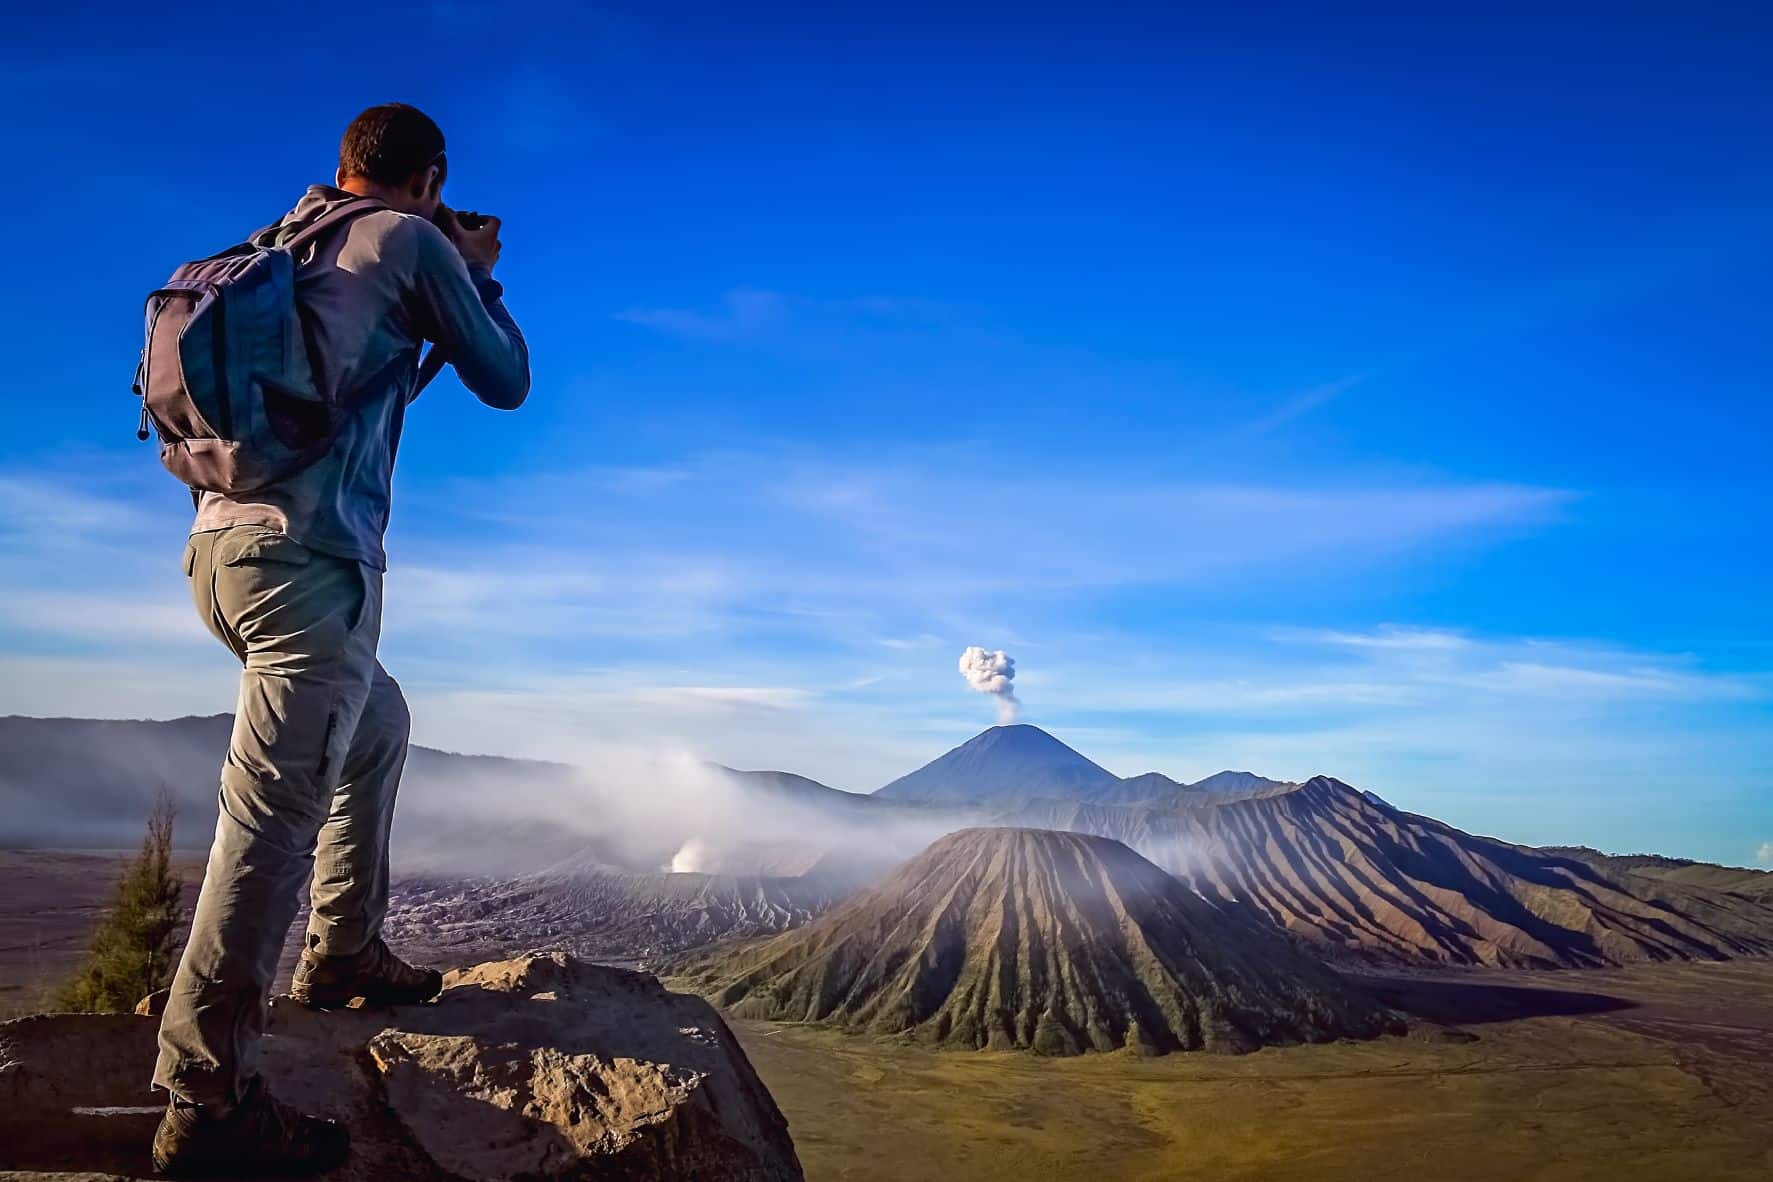
Read on for tips on safely photographing volcanoes to get the best shots.
Scouting the Best Vantage Points
Consulting locals can help you quickly find prime photography spots. When shooting volcanoes, seeing potential vantage points yourself is crucial, so visit them with appropriate lenses.
When near an active eruption, cautiously observe the explosion’s strength and lava flow direction from a safe distance. Approaching erupting volcanoes is extremely dangerous.
Daytime Shooting Tips
Capturing volcanic explosions and ash clouds throughout the day can produce the most dramatic images. Lava flows can also be photographed. A 24-105mm lens is commonly used, or longer lenses if distant.
Try freezing motion or using motion blur during daytime:
- Freeze motion: Use fast shutter speeds like 1/1000th of a second to freeze falling lava and pyroclastic flows. Adjust ISO above 1000 and aperture around f/8 as needed.
- Add motion blur: Slow shutter speeds around 1/20th of a second can blur motion artistically. Use this for ash clouds when possible. Shutter speeds of one second or longer work for lava flows. Pair with ISO 100 and narrower apertures. Add neutral density filters if required.
Nighttime Shooting Strategies
Capturing lava flows at night as they glow against the darkness can produce breathtaking images.
Aim to shoot during late blue hour when foreground features are still visible but lava appears brighter. Once fully dark, rocks become silhouettes.
A full moon can help illuminate lava. Use a powerful flashlight to light up molten rock during exposures. Try exposures up to 10 seconds for lava streaks effects.
Neutral density filters also help extend exposures during blue hour. Pair with six to eight-stop filters.
Follow typical night landscape settings. Bracket exposures and shoot RAW when possible. Use subtle processing for accurate lava colors and reduced brightness.
Protecting Yourself and Gear
Protective gear for yourself and equipment is essential:
Safety Equipment
Volcanoes pose many threats, especially when accessing lava flows up close. Common protective gear includes:
- Helmet: Protects from falling volcanic rock and lava.
- Heat-resistant clothing: Necessary when near lava.
- Gas mask: Guards against toxic volcanic gases.
Note: This gear won’t protect from pyroclastic flows.
Camera Equipment
Recommended photography gear includes:
- Camera body: Sturdy and weather/dust-sealed.
- Lenses: Wide-angle for landscapes. Mid/long telephotos for active volcanoes.
- Tripod: Sturdy and heat-resistant.
- UV filter: Protects from debris.
- Cleaning supplies: Camera blowers or towels.
Hiking Supplies
Rugged volcanic terrain also requires:
- Hiking boots
- Walking poles
- Food and water
- Tent and sleeping gear
- First aid kit
Photographing Dormant Volcanoes
Inactive volcanoes still make stunning photographic subjects, with rugged geology and crater rims. When lava isn’t flowing, try:
- Hiking the volcano: Safely ascend dormant volcanoes, capturing deep ravines and fumaroles.
- Acid lakes: Photograph vivid crater lakes formed by sulfur gases.
- Geysers: Capture these natural fountains.
- Sulfur mines: Also make intriguing subjects.
Ground Level Shooting
Photographing from the ground is challenging but rewarding. Multiple frames and luck help capture all elements simultaneously.
Capture wide and detailed shots between 14mm and 500mm. Have all lenses ready to change compositions quickly.
Test different shutter speeds for desired effects. One-second exposures often work best.
The perfect light balance lasts 15-30 minutes during end of blue hour. Choose compositions carefully as it passes quickly.
Lava can melt tripods and camera gear from surprising distances when using wide-angle lenses up close.
Aerial Photography
Having a broad plan for photographing volcanoes from the air is important when direct access isn’t possible.
Images may blur on vibrating aircraft like piston helicopters. Use shutter speeds of 1/750th or 1/1000th second if possible, or 1/500th with stabilized lenses.
Fast f/2.8 lenses allow shooting wide open while keeping eruption details sharp in the distance.
Auto ISO helps get proper exposures with fixed aperture and shutter speed. Enable highlight-weighted metering if possible for balanced exposures.
Avoid changing lenses while airborne. Use one camera with a 24-70mm lens and another with a 70-200mm or 80-400mm lens.
Ocean Photography
View lava flows entering the ocean up close from a boat. This vantage point offers a mesmerizing, immersive experience.
A 70-200mm lens (full frame) captures lava details. Use a minimum 1/250 second shutter speed to freeze motion from boats rocking on waves.
Top Volcano Locations
Most volcanoes are in geologically active regions like New Zealand, Japan, Alaska, western Americas, Indonesia, Iceland, Hawaii and Africa.
Research eruption history and consult locals before visiting. Consider hiring a guide for safety.
Identify if volcanoes produce hazardous pyroclastic flows and their typical direction.
Conclusion
Photographing volcanoes delivers exhilarating results! With proper gear and an experienced guide, you can capture incredible volcano images safely.